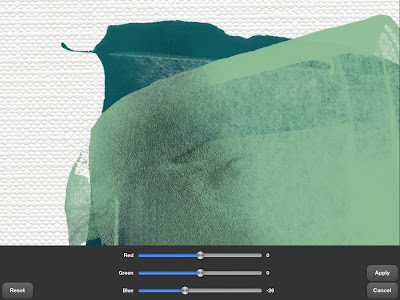
The first one on the list is Brightness/Contrast/Exposure. Here's a sample with combined adjustments of all three:
Next on the list is Hue/Saturation/Lightness:
Curves gives you a lot of control:
You can add an adjustment point by tapping on the adjustment curve. allowing you to fine tune various aspects of the image:
And you can control specific color channels:
You can see here, you can combine various channel adjustments:
And here's an example of playing with the Alpha:
Some examples of Color Balance control:
Temperature/Tint sliders:
Shadows/Highlights:
Posterize:
I didn't get a screen shot of Invert Colors. Here is Black and white, which is a good first step to recoloring the layer.
I selected a color from the swatches and chose Colorify, a super easy way to make things match whatever color palette you are playing with:
For this one, I reverted to my original file and selected Color to Transparency.
The Adjust menu also contains Auto Contrast, Auto Colors and Auto White Balance, which would be most useful on photographs that need a bit of adjusting.
Next up: the Select and Layer menus


1 comment:
Thanks so much for posting about using art studio. I am trying to use it too. Have ou found anything that works like a lipping mask when you have a png template? I have some templates I would love to use but haven't figured it out yet.
Post a Comment