Purpose


A blog to share about Adrenal insufficiency, Addison's Disease, Aspergers Syndrome, Autism, Music, Inspiration, Scrapbooking and other elements viewed through the lens of my life. I'm hoping that others who are traveling this journey may find some commonality, and maybe some information and inspiration.

Saturday, February 2, 2013

Our little miracle


This is our first photo (other than the ultrasound) of our lovely little miracle grandson.

His parents waited almost eight years before they were able to get pregnant, and the pregnancy proceeded with no signs of trouble until last Sunday. Increased cramping and spotting sent them to ER Sunday, where it was discovered that mama had developed pretty severe pre-eclampsia. She was immediately hospitalized and treatment was begun.

Two days later she was transferred to a nearby hospital with a NICU, and the doctors did more tests. They concluded that our little guy had stopped growing and delivery was required as soon as possible.

Mama was induced, labor proceeded entirely normally, and little Ryan was born Wed. morning weighing 2 lbs. 9 oz. While the doctors feel he was at 31-32 weeks, they think the development actually stopped at about week 28, which was right after her last regular doctor visit.

She didn't really have any alarming signs of preeclampsia, so we are very thankful for the increasing contractions and spotting that sent her to the doctor!

Ryan is now 3 days old, breathing on his own, and he has begun to be fed mother's milk.

Of course he has quite a stay in the NICU ahead of him, but we are so thankful for his strength and the miracle of his little life.

His mother is recovering, and her blood pressure may be low enough to go home today.

So thankful for the blessings of this week!

Patti

- Posted using BlogPress from my iPad

iPhoneography

Check out this video of some very cool free textures and an editing program for iPhones (I have no idea if this is available for other makes).

When I buy my new, large capacity iPad next week, this is going to be installed for sure.


http://www.iphoneography.com/journal/2013/1/29/mextures-free-textures-for-your-iphoneography.html

Patti

- Posted using BlogPress from my iPad

Tuesday, January 29, 2013

I'm Back!


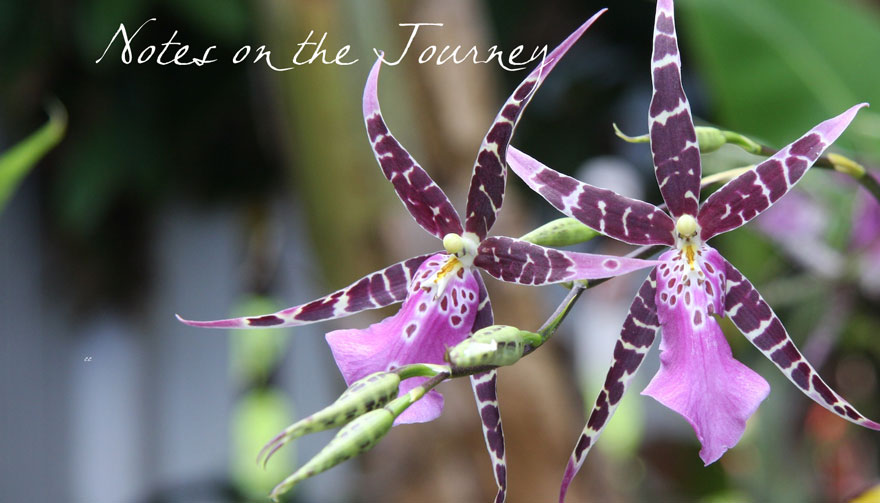
I'm back from a wonderful trip. This lovely orchid was photographed on the trip. I'm a huge fan of orchids. So happy I can grow them in my garden!

My first stop was San Diego for Simply Music Symposium. My colleague from here and I flew together, arriving late at night. After a good long sleep, we spent the daytime hours at Balboa Park. We did pretty well, I think, using public transit. We stayed in Old Town, and there is a transit center just a few blocks from the hotel so it was very convenient. The security people at the transit station were very helpful with their instructions on how to get to Balboa Park, and how to get back home.

We wandered around the park, enjoying the beautiful buildings and the buskers. There were many scattered throughout the park. We started out in the succulent garden, but we're lured across the park by the carillon. It was a music-filled afternoon.

More on my trip in future posts.

Patti
- Posted using BlogPress from my iPad

Tuesday, January 15, 2013

Heading Out


I've been very absent here since before the holidays. It was a busy time and I got a lot of work done that needed to be done.

And now I'm headed for San Diego for business. I'm looking forward to 5 days with colleagues, learning and sharing.

Then next week I head to Arizona to visit my brother and sister-in-law. We're planning in visiting the Grand Canyon, which I have never been to.

I'll try to post a few times along the way.

- Posted using BlogPress from my iPhone

Monday, December 3, 2012

ArtStudio: Using PNG files as clipping mask

You can't quite use PNG files as clipping masks like you do in Photoshop or Elements. But here is what you can do:

This screen shot shows my layer palette. You can ignore the blue background layer. I just forgot to delete it! The next layer is what I will be using as my background for this example. I also brought in a PNG file of a sunburst, which I want to "clip" the yellow transfer to.


With the sunburst layer selected, go to the Select menu and choose Alpha to selection. You'll see the marching ants around the shape. 

Now, go to Select>Inverse. Select the image layer that you want to "clip", select Edit>Cut


Here is my result. This is a destructive edit - if you decide you don't like the result, you have to back track and try again. But at least you can alter your PNG files beyond coloring them. 


And you can create shapes to "clip" photos to as well. First, I created a new layer, then using the select tool, I drew a rectangle on the new layer. Then I rounded the corners: Select>Round Corners.


I filled it with a color (any will do) using the paint bucket


Then I brought in the photo I wanted to use:


Then I resized and moved it by going Transform selection>Move,scale


I moved the shape mask layer above the image, and reduced the opacity so I could make sure I had the photo placed how I wanted it in the shape.


 On the shape layer, go to Select>Alpha to selection. Also do a Select>Inverse. Then select the photo layer and Edit>Cut. That will leave you with everything outside the selection on the photo layer deleted. Then I turned off the visibility of the rectangle layer. It could also be deleted at this point.


I decided to duplicate the photo layer and use Multiply mode on the new layer. I also duplicated the sunburst. and used a Darken blend mode on that layer.


At this point I decided to create a mat for the photo, so I selected the photo layer, then went to Select>Alpha to selection, followed by Select>Expand. I forgot to get a screen shot of that, but you can choose how many pixels you want it to expand. I then created a new layer underneath the photo and  filled the selection on that layer with brown using the paint bucket.

I then wanted a drop shadow on that layer, so I went to Filters>Stylize>Drop Shadow.


Here is what those controls look like. Unfortunately, this does not do a live update. You have to kind of guess with the sliders, then select preview to see the effect. But you can keep playing with it until you get what you want before you apply the shadow.


As you can see in this photo, I also added a border. That is done by selecting a layer, then Filters>Border>Add Border and playing with the sliders. This border happens to be on the top photo layer, so the Multiply bland mode also applies to that border. Really, I should have but it on it's own layer, but it'll work where it is.


Now to add a title. Select the text tool and tap on the screen approximately where you want the text to be. This is the window that pops up. This is where you can type your text, select the font, size, and alignment.


I typed each word on it's own layer, resized and moved it where I wanted. I rasterized the text, then did a Select>Alpha to selection as well as Select>Expand (3 pixels) , and created a layer below the word. I then used the paint bucket to fill the selection, and moved it slightly offset. I still wasn't happy with the text, so I once again selected the word, created a new layer below, and filled it with the gradient tool. That was more of what I was looking for. 

Along the way, layers have to be combined if you are doing a multi-layer project like this one. Once I was happy with the word Beach, I merged the layers so I still had a few layers to create Naupaka. 


So there is a little taste of using PNG files and shapes to "mask". It's not the only way. But that is for another post! Of course I might take this layout further by adding some PNG files behind the photo and maybe bring in some beach elements. But this is where it is right now.

Patti


Art Studio: Select and Layer Menus

I hope you all had a great weekend. It's time to talk about the Select and Layer Menus. Here's a screenshot of the Select menu. Make sure you have selected the layer you want in the Layers stack.  If you choose all, the entire layer including invisible pixels is selected. If you choose Alpha to selection, it will select on the object on the layer. 


Here I've selected using the Alpha to selection option. If you look closely you can see the marching ants:


And once you have made the selection, the options in the Select menu become available. 


These options do what they say - Border selects a border so you can then fill it with whatever color you want to. If you are used to Photoshop or Photoshop Elements, you know what the other options do. 

And here is the screen shot of the Layer menu. Some of these are also available from the layer stack at the bottom of the screen. 


One word of advice: when working in ArtStudio, like in other programs, save frequently. I have found that when I don't, the program is somewhat prone to crashing, and that means you'll lose your work. This may be partly due to my very limited space on my iPad 1. But saving often is still a good idea.


Saturday, December 1, 2012

Music Wreath Progress

I thought I'd post a brief update on my music wreath project. I finally got to the store for ribbon. I didn't find exactly what I was looking for, but I did find some that will work.


I want to get some pearls to glue in the center of each rose before I attach them to the wreath.

Patti

- Posted using BlogPress from my iPad